
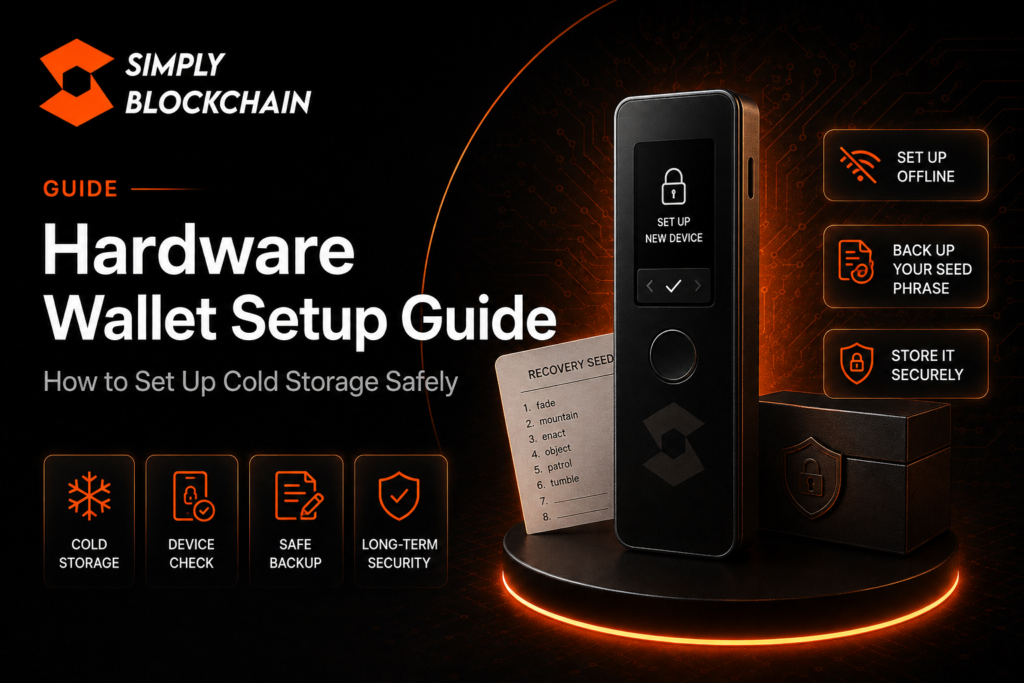
Quick answer: how do you set up a hardware wallet safely?
A safe hardware wallet setup starts with buying the device from the manufacturer or an authorised seller, initialising it yourself, generating the recovery phrase on the device and protecting that backup offline.
Buy the device from the manufacturer or an authorised seller, initialise it yourself, generate the recovery phrase on the device, write that phrase down offline, set a PIN, install any required official software or firmware, verify your receiving address on the hardware wallet screen, and send a small test transaction before moving a larger balance.
A hardware wallet can reduce exposure to some online attacks because the private keys are kept on a dedicated device. It does not remove the need to protect the recovery phrase or to check every transaction you approve.
If you are new to self-custody, read What Is a Crypto Wallet? before setting up a hardware wallet.
Table of Contents
Hardware wallet setup: what is a hardware wallet?
A hardware wallet is a physical device designed to keep cryptocurrency private-key operations separate from an ordinary internet-connected computer or phone.
When you want to send crypto, the transaction is prepared through a wallet application and then approved on the hardware device. The private key should remain inside the protected device rather than being exposed to the computer.
This can significantly improve security for long-term holdings, but it is important to understand what a hardware wallet does not do. It cannot stop you from entering your recovery phrase into a fake website, buying a fraudulent device or deliberately approving a malicious transaction.
Who should consider a hardware wallet?
A hardware wallet can make sense when you are holding crypto for longer periods, storing an amount that would be painful to lose, or want to reduce the exposure of your private keys to a general-purpose device.
It may be unnecessary for someone who is only experimenting with a very small balance. Hardware wallets add cost and another device to manage.
A common setup is to keep long-term assets in a hardware wallet while using a separate software wallet with a smaller balance for frequent trading or connecting to new applications.
Step 1: buy from a trusted source
Start with the manufacturer’s official website or an authorised retailer listed by the manufacturer. Avoid buying a used hardware wallet from an unknown person.
A wallet that arrives already configured, contains a recovery phrase in the box or instructs you to use a preselected PIN should be treated as suspicious. You should initialise the device yourself and generate new recovery information during setup.
Follow the specific manufacturer’s authenticity and device-verification instructions rather than relying only on whether the packaging looks untouched.
Step 2: use the official setup application
Most hardware wallets use official desktop, mobile or browser software to install firmware, manage accounts and prepare transactions.
Download this software from the manufacturer’s official website or verified app-store listing. Be cautious of search adverts and copycat applications.
Before connecting the device, check that the web address is correct. Bookmark it for future updates so you do not have to search for it every time.
Step 3: initialise the hardware wallet as a new device
Choose the option to create or initialise a new wallet unless you are intentionally restoring an existing one.
The device may ask you to set a PIN or another local access method. Choose something you can remember but that is not obvious to other people.
If the device asks you to use a recovery phrase that was supplied on paper before you powered it on, stop. A genuine new-device setup should generate fresh recovery information for you.
Step 4: generate and record the recovery phrase
The recovery phrase is the most important part of the setup. It can allow the wallet to be restored if the hardware device is lost, damaged or replaced.
The phrase should be generated during the device’s secure setup process. Write the words down accurately in the correct order.
Do not:
- take a photo or screenshot;
- save the phrase in an ordinary notes app;
- email it to yourself;
- store it in cloud storage without a carefully designed security system;
- type it into a website claiming to “verify” the hardware wallet;
- share it with support staff.
If somebody obtains the recovery phrase, they may be able to recreate the wallet without possessing the physical hardware device.
Step 5: verify the recovery phrase when prompted
Many hardware wallets ask you to confirm some or all of the recovery words during setup. Take your time.
This step is not an inconvenience; it checks that the backup you wrote down is usable. Do not deposit a meaningful balance until you are confident the recovery information is accurate.
Step 6: update firmware through the official application
The manufacturer may provide firmware updates that fix bugs, improve compatibility or add security features.
Install updates only through the official process. Be cautious of emails or pop-ups that direct you to an unfamiliar download.
Before major updates, make sure your recovery backup is secure. A routine update should not normally require you to type your recovery phrase into a website.
Step 7: add the cryptocurrency accounts you need
Hardware wallets often support multiple blockchains, but support varies by device and software.
Add only the networks and accounts you actually need at first. Learn one workflow before installing everything available.
If a third-party wallet interface is required for a particular blockchain, verify that the hardware-wallet manufacturer supports or documents that integration before connecting.
Step 8: verify your receiving address on the device
When the wallet application displays a receiving address, the hardware device should normally allow you to verify that address on its own screen.
This is important because malware on a computer could theoretically display or copy a different address. The hardware device provides an independent place to check what you are approving.
Compare the address shown on the computer or phone with the address shown on the hardware wallet before sending funds.
Step 9: send a small test transaction
Do not move your entire balance as the first transaction.
Send a small test amount to the verified receiving address. Wait for it to appear and confirm the transaction on a blockchain explorer where appropriate.
Once the test has arrived correctly and you understand the process, you can consider transferring the remaining amount.
Step 10: practise sending from the hardware wallet
Receiving crypto is only half of the process. Send a small amount back out so you understand how transaction approval works.
Before confirming on the device, read the destination address, amount and any network information displayed. The physical confirmation step is valuable only if you actually check what the device is asking you to sign.
Where should you store the hardware wallet?
The physical device should be stored somewhere secure, but the recovery phrase is usually more important than the device itself.
If the hardware wallet is stolen but the thief cannot unlock it, you may still be able to restore the wallet using the recovery phrase on a replacement device. If the recovery phrase is stolen, the attacker may not need your original device at all.
Avoid storing the device and the only copy of its recovery phrase together. A single fire, theft or accidental disposal could then remove both.
Should you use a metal seed backup?
Paper can be damaged by water, fire or time. Some users choose metal backup products for greater physical durability.
A metal backup does not automatically make the phrase secure. It still needs to be protected from theft and stored somewhere sensible.
Whether this is worthwhile depends on the value being protected and your personal backup plan.
What is a passphrase on a hardware wallet?
Some hardware wallets support an optional additional passphrase, sometimes described as an extra word or hidden-wallet feature.
This can provide additional protection, but it also creates another recovery dependency. If you forget the passphrase, the normal recovery phrase alone may not restore the same wallet.
For a complete beginner, it is often better to understand the standard recovery process first. Only use advanced passphrase features when you fully understand how restoration works and have a reliable backup plan.
Hardware wallet security mistakes to avoid
Using a pre-written seed phrase
Never trust recovery words supplied by a seller or printed in the box before you initialise the device.
Typing the seed phrase into a website
Phishing sites often pretend that a firmware update or wallet problem requires your recovery phrase. Treat this as a major warning sign.
Not checking the device screen
One of the main benefits of a hardware wallet is independent transaction verification. Read the details before confirming.
Moving everything without a test
A small test transfer can catch the wrong network or address before a larger amount is moved.
Buying from an unknown seller
Use trusted supply channels and follow the manufacturer’s device-verification process.
Assuming hardware means invincible
A hardware wallet does not protect you from every scam, malicious contract or bad decision.
Hardware wallet vs software wallet
| Feature | Hardware wallet | Software wallet |
|---|---|---|
| Private-key environment | Dedicated physical device | Phone, browser or computer |
| Convenience | More steps to transact | Usually faster for everyday use |
| Cost | Physical purchase | Often free |
| Good for long-term storage | Often suitable | Possible, but more exposed to the device environment |
| Still requires seed security | Yes | Yes for recovery-phrase wallets |
Do you need more than one wallet?
Not necessarily, but separating purposes can improve security.
You might use a hardware wallet for long-term holdings, a software wallet for routine on-chain activity and a separate low-value wallet for experimenting with new applications.
The objective is not to create complexity for its own sake. It is to avoid exposing every asset whenever you connect to a new service.
What if you lose the hardware wallet?
If you still have the correct recovery information, you can usually restore the wallet using compatible hardware or software according to the manufacturer’s instructions.
If you lose both the device and the recovery information, access may be permanently lost.
This is why backup planning should happen during setup rather than after something goes wrong.
Frequently asked questions
Does a hardware wallet actually store the crypto?
The crypto remains recorded on the blockchain. The hardware wallet protects the private keys used to control it.
Can I receive crypto when the hardware wallet is switched off?
Yes. A blockchain address can receive transactions without the physical device being online. You need the device when you want to authorise actions using its private keys.
Should I buy a used hardware wallet?
For a beginner, buying new through the manufacturer or an authorised seller is generally simpler and reduces avoidable supply-chain uncertainty.
Do I need to connect a hardware wallet every day?
No. It only needs to be connected when required for setup, account management or signing transactions, depending on the device.
Is a hardware wallet worth it for a small amount?
That depends on your risk tolerance and the amount involved. For very small learning balances, the cost and complexity may not be justified.
What to learn next
Read Crypto Security: Protect Your Funds Like a Pro for the wider security habits a hardware device cannot replace.
If you have not yet funded a wallet, continue with How to Set Up & Fund Your Crypto Wallet.
For scam-specific protection, see How to Avoid Crypto Scams & Phishing.
Official hardware wallet setup guidance
For the latest device-specific instructions, always follow the official setup guidance from the manufacturer.
• Ledger official setup guidance
• Trezor official setup guidance
Educational disclaimer
This guide is general educational information. Hardware-wallet features and setup flows vary between manufacturers and can change over time. Always follow the current official instructions supplied by your device manufacturer and verify important links yourself.
