Quick answer: how do you set up and fund a crypto wallet?
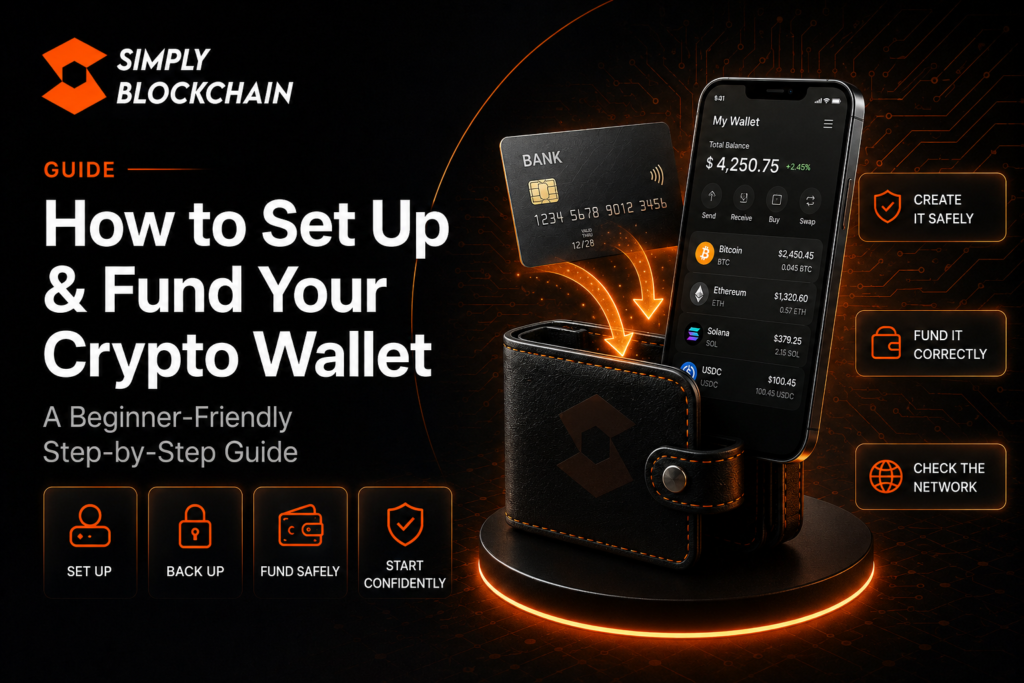
Learning how to set up and fund a crypto wallet safely starts with choosing a reputable wallet, protecting your recovery phrase and making sure you use the correct network when transferring funds.
To set up and fund a crypto wallet safely, choose a reputable wallet that supports the blockchain you want to use, download it from the official source, create the wallet, back up the recovery phrase securely, and then send a small amount of crypto to the wallet using the correct network.
The two biggest beginner risks are losing the recovery phrase and sending funds on the wrong network. Before moving a meaningful amount, confirm the wallet address, confirm the network, and make a small test transfer first.
If you are not yet sure what a wallet actually does, start with our beginner guide to crypto wallets before following the practical steps below.
Table of Contents
How to set up and fund a crypto wallet step by step
A self-custody wallet gives you direct control of the private keys used to authorise transactions. That control is useful, but it also means you take responsibility for backups and security.
Before installing anything, decide what you need the wallet for. A wallet used for occasional Bitcoin storage may have different requirements from one used every day for Solana trading, Ethereum applications or decentralised exchanges.
Check three things first:
- Supported network: make sure the wallet supports the blockchain you intend to use.
- Official source: reach the download page through the wallet’s official website or verified app-store listing, not through an advert or unsolicited link.
- Recovery method: understand how the wallet expects you to back up and restore access before you deposit funds.
Watch: How to Set Up a Phantom Wallet
If you’d prefer to follow the process visually, this Simply Blockchain tutorial walks through setting up a Phantom wallet from scratch. It covers downloading Phantom, creating and securing the wallet, receiving and sending SOL, importing wallets and important security precautions.
Phantom is used as the practical example, but the security principles covered throughout this guide apply more broadly to self-custody crypto wallets.
Phantom Wallet Setup Tutorial — Simply Blockchain
Step 1: choose the right type of wallet
For most beginners, the practical choice is between a software wallet and a hardware wallet.
Software wallet
A software wallet runs on a phone, browser or computer. It is usually easier for regular transactions and for connecting to blockchain applications. Because it runs on an internet-connected device, good device security and careful signing habits matter.
Hardware wallet
A hardware wallet keeps key operations on a dedicated physical device. It can reduce exposure to some online attacks and is often used for longer-term storage or larger balances. It is less convenient for frequent activity and still requires careful recovery-phrase handling.
For someone learning with a small amount, a reputable software wallet can be a reasonable place to start. If you are storing an amount you would be very uncomfortable losing, consider whether a hardware wallet is more appropriate.
Step 2: download the wallet from the official source
Fake wallet downloads are a serious risk. Scammers can imitate websites, browser extensions and app listings closely enough to fool someone who is moving quickly.
Instead of clicking a random search advert, type the official website address carefully or use a trusted bookmark you have already verified. Check the spelling of the domain before downloading anything.
If the wallet offers both a browser extension and a mobile application, make sure you are installing the version you actually intend to use. Avoid installing multiple similarly named extensions while trying to work out which one is genuine.
Step 3: create a new wallet
Open the genuine wallet application and choose the option to create a new wallet. The exact screens vary, but most wallets will ask you to set a local password, PIN or biometric lock.
This password protects access to the wallet on that device. It is not always the same thing as the recovery phrase. If the device is lost, the local password alone may not be enough to restore the wallet elsewhere.
Use a strong password or PIN that you do not reuse for unrelated accounts. If the wallet supports biometric unlocking, treat it as a convenience layer rather than a replacement for understanding the underlying recovery process.
Step 4: back up the recovery phrase properly
Many self-custody wallets generate a recovery phrase when the wallet is created. This phrase may be able to restore the wallet and therefore control the assets associated with it.
Never share it with anyone. Genuine support staff do not need your recovery phrase to troubleshoot an ordinary problem.
A sensible basic approach is to write the phrase down accurately and store it offline in a secure place. Avoid screenshots, email drafts, ordinary cloud notes and chat messages. If an online account is compromised, those copies can become an easy route into the wallet.
Check the words carefully before completing setup. A backup that contains one incorrect word or is stored somewhere you cannot later access is not a useful backup.
For larger balances, some users choose more durable physical backup methods and separate secure locations. The important principle is that the backup should survive the loss of the original phone or computer without becoming easy for somebody else to steal.
Step 5: understand your wallet address
Your wallet will show one or more public addresses. These are the destinations you can use to receive crypto.
Copy the address using the wallet’s built-in copy button rather than typing it manually. Then compare the beginning and end of the copied address with what the wallet displays.
Different blockchains use different address formats, and some wallets support several networks. Do not assume that because an address looks valid it is valid for the asset and network you are about to use.
The network matters as much as the address
If you withdraw an asset from an exchange, the exchange may offer several network choices. For example, a token can sometimes exist on more than one blockchain. The receiving wallet must support the same network you select for the withdrawal.
When in doubt, stop and verify. A low fee is not worth choosing a network you do not understand.
Step 6: fund the wallet
Once you understand how to set up a crypto wallet securely, the next step is funding it without sending assets to the wrong address or network.
There are two common ways to fund a new wallet: transfer crypto from an exchange you already use, or use a supported on-ramp that lets you buy crypto and send it to the wallet.
For beginners, transferring from a reputable exchange can make the process easier to understand because you can separate the purchase from the withdrawal.
Funding from an exchange
- Open your wallet and select the asset you want to receive.
- Copy the receiving address.
- Open the exchange and choose the withdrawal or send option.
- Select the same asset and the correct blockchain network.
- Paste the wallet address and verify it carefully.
- Send a small test amount first.
- Wait for the test transaction to arrive before sending the remainder.
Exchanges often charge a withdrawal fee, and the blockchain may also have network fees. Review the amount you will actually receive before confirming.
Why a small test transaction is worth doing
A test transaction adds an extra step, but it can catch several expensive mistakes: the wrong network, the wrong destination, a copied address error or a wallet that does not support the asset the way you expected.
Send an amount small enough that losing it would not matter materially. Once the wallet receives it and you have verified the transaction, you can move the remaining amount with much more confidence.
Be aware that some networks or exchanges have minimum withdrawal amounts, so the smallest possible test may still be larger than you expect.
Step 7: verify the transaction on a block explorer
Most public blockchains have explorers that let you inspect transactions. Your wallet or exchange may provide a direct link to the relevant explorer after a transfer is submitted.
A block explorer can show whether the transaction has been broadcast, whether it is pending or confirmed, the sending and receiving addresses, the network fee and other transaction details.
Learning to read a basic transaction record is a useful skill because it helps you distinguish between a wallet-display problem and an actual blockchain transaction problem.
Step 8: make your first outgoing transaction carefully
Once you have funded the wallet, practise sending a small amount before relying on it for larger transfers.
When sending crypto:
- confirm the receiving address;
- confirm the blockchain network;
- review the amount and network fee;
- read the wallet confirmation screen before signing;
- avoid making transactions when you are rushed or distracted.
If you are sending to an exchange, check whether the exchange requires a memo, tag or other additional identifier for that asset. Missing required destination information can complicate recovery.
Common beginner mistakes when setting up a wallet
Saving the recovery phrase digitally
A screenshot may feel convenient, but it places one of your most important secrets on a device or cloud account that could be compromised.
Downloading a fake wallet
Always verify the official source. Fake extensions and applications can look convincing.
Choosing the wrong network
The asset name alone is not enough. The sending and receiving sides must agree on the blockchain network being used.
Skipping the test transfer
A test transaction costs a little time and sometimes an extra fee, but it can prevent a much larger mistake.
Keeping every asset in one wallet
As you become more active on-chain, consider separating long-term holdings from the wallet you connect to new applications. This limits how much is exposed if you approve something malicious.
How much crypto should you put in a new wallet?
There is no universal amount. When you are learning, the useful principle is to start small enough that a mistake becomes a lesson rather than a financial disaster.
Learn the full process first: receive funds, check a transaction on an explorer, send a small amount, understand fees and confirm that you can access your recovery backup.
Only increase the amount once you are comfortable with the wallet and the network.
Should a beginner keep crypto on an exchange or in a wallet?
Both approaches involve trade-offs.
An exchange account can be easier to recover if you lose a password, but you are trusting the exchange to custody the assets. A self-custody wallet gives you direct control, but you are responsible for the recovery phrase and transaction decisions.
You do not need to move everything into self-custody on day one. It is reasonable to learn gradually and use small amounts while you build confidence.
Security checklist before you add more funds
- You installed the wallet from the official source.
- Your recovery phrase is complete and stored securely offline.
- Nobody else has seen or received the recovery phrase.
- You understand which network the wallet is using.
- You completed a small test deposit.
- You can identify the transaction on a block explorer.
- Your phone or computer uses a strong lock and current software.
- You know that support staff should never ask for your private key or seed phrase.
For a deeper security checklist, continue to our crypto security guide.
Frequently asked questions
Can I create a crypto wallet for free?
Many software wallets are free to download and create. You may still pay blockchain network fees when sending assets or interacting with applications. Hardware wallets are physical products and normally have an upfront cost.
Do I need crypto before creating a wallet?
No. You can normally create the wallet first and fund it later.
Can I use the same wallet for every cryptocurrency?
Not necessarily. Wallets support specific blockchains and assets. Check compatibility before sending anything.
What happens if I lose my phone?
If it is a self-custody wallet and you still have the correct recovery information, you can usually restore access on a compatible device or application. If you lose both the device and recovery information, recovery may be impossible.
Is my wallet address private?
A public address can usually be shared for receiving funds, but activity associated with that address may be visible on a public blockchain.
Official crypto wallet resources
For additional guidance on setting up and protecting a crypto wallet, these resources explain the different types of wallets, how self-custody works and why protecting your recovery phrase is essential.
What to learn next
Once you can create, back up and fund a wallet safely, the next important skill is protecting it. Continue with our crypto security guide before connecting your wallet to unfamiliar applications.
If you still need to buy the crypto you want to transfer, read how to buy your first cryptocurrency.
You can also follow the full Simply Blockchain Start Here roadmap to learn the foundations in order.
Educational disclaimer
This guide is for educational purposes only and is not financial, investment or personalised security advice. Crypto assets and self-custody involve risk. Always verify addresses, networks and official sources yourself before moving funds.
